With the Nintendo Switch 2 now available, many users want to explore its internals. Whether fixing stick drift, expanding storage, or just investigating, proper tools make the job easier.
This guide breaks down exactly which screwdrivers and tools you’ll need for Nintendo Switch 2 disassembly. Getting the wrong screwdriver for Nintendo Switch can strip screws or damage your console, so let’s make sure you’re properly equipped.
Essential Screwdrivers You’ll Actually Need
The Nintendo Switch 2 uses two specific types of screws, which means you’ll need exactly two screwdrivers to handle most repairs.
First up is the 2.0mm Tri-Wing screwdriver – this tool opens the back panel screws.
The second tool you must have is a Phillips #1 Nintendo Switch screwdriver for the internal components and smaller screws.
Why these specific sizes? Nintendo engineering isn’t random. The 2.0mm tri-wing provides the right torque for the back panel without over-tightening, while Phillips #1 handles the delicate internal screws perfectly. Using the wrong size of Joy-Con screwdriver risks stripping screw heads or applying too much force.
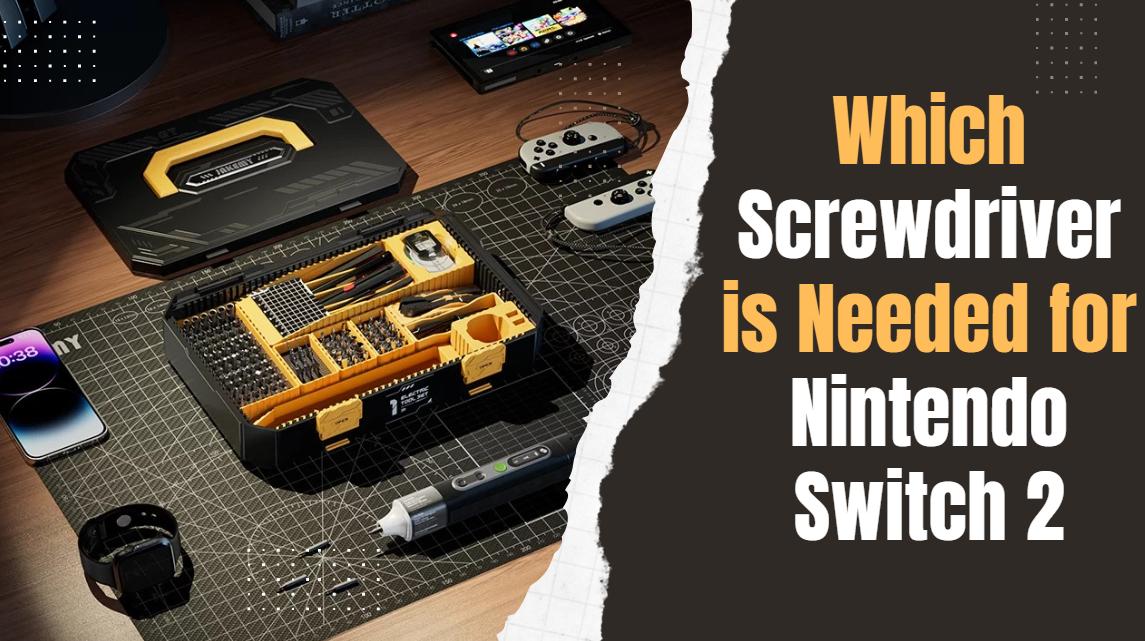
For DIYers, it’s best to have a precision screwdriver set such as the JM-8198.
Extra Tools That Make Life Easier
A reliable screwdriver for Nintendo Switch is just the start. There are some other tools that can protect your console and simplify the repair process. These aren’t always essential, but they’re definitely worth having if you plan to do more than basic screw removal:
1. Plastic Pry Tool
Plastic prying tools help separate the console’s plastic housing without scratching or gouging the surface. These flat, thin tools slide between panels and gently separate snap-fit connections. They’re especially useful around the screen area where you don’t want any scratches.
2. Screen Disassemble Blade
This specialized tool looks like a thin metal blade designed specifically for lifting screens and delicate components. The Nintendo Switch 2’s screen connects with adhesive strips, and this blade slides underneath to separate them cleanly. Always use gentle, steady pressure when lifting components.
3. Suction Cup and Tweezers
Suction cups provide controlled lifting power for screens and back panels. They distribute pressure evenly instead of concentrating force at one point. Tweezers handle tiny ribbon cables and small components that your fingers can’t grip properly. Both tools, along with your screwdriver for Nintendo Switch, give you precision control during delicate operations.
4. Working Mat (Preferably Magnetic)
Organization saves sanity during repairs. Magnetic working mats keep screws organized and stop them from rolling away. Some mats even have labeled sections for various components.
5. Thermal Putty
Nintendo Switch 2 uses thermal putty between the processor and heat spreader for temperature management. When you disassemble the system, this putty gets disturbed and needs replacement. Fresh thermal putty ensures proper heat transfer and prevents overheating issues down the road. Applying it carefully improves long-term stability, while using high-quality putty enhances cooling efficiency.
6. Thermal Paste
Similar to thermal putty but with a different consistency, thermal paste goes between other heat-generating components and their cooling solutions. Old paste dries out and becomes less effective over time. Replacing it during repairs can actually improve your console’s thermal performance. Using the right amount ensures optimal contact, and spreading it evenly prevents hot spots.
Conclusion
Getting into your Nintendo Switch 2 requires specific tools, but it’s not complicated once you know what to buy. The 2.0mm tri-wing and Phillips #1 screwdrivers handle the basic disassembly. Additional tools like prying tools and thermal materials make repairs cleaner and more professional. Having a quality screwdriver for Nintendo Switch and other key tools prevents damage and makes the whole process less stressful.