For business buyers in manufacturing, prototyping, or material processing, achieving clean, precise cuts on delicate substrates without fraying, melting, or crushing is an ongoing challenge. Traditional blades often tear composites, deform plastics, or leave rough edges. Ultrasonic cutting technology offers a superior solution by vibrating a blade tens of thousands of times per second, creating frictionless, accurate cuts. This guide explains the working principle, general operation steps, key application scenarios, and situations where an ultrasonic cutter is not suitable.
The Working Principle: High-Frequency Vibration Explained
An ultrasonic cutter converts standard electrical energy into mechanical vibration at frequencies beyond human hearing—typically between 20kHz and 40kHz. Inside the handpiece, piezoelectric ceramic transducers expand and contract rapidly when energized. These vibrations are amplified and transferred to the blade. At 40kHz, the blade moves back and forth approximately 40,000 times per second. This micro-motion generates three simultaneous effects: localized friction heat that softens thermoplastic materials, microscopic air gaps that reduce drag, and a clean shearing action that separates material fibers or layers without pulling or crushing. The operator applies almost no downward pressure, as the vibration does the work.
How to Use a Handheld Ultrasonic Cutter: General Operation
While specific models vary, the general workflow remains consistent. First, secure your workpiece on a stable, non-slip surface. Select the appropriate blade—a standard knife-style blade for cutting, or an abrasive tip for grinding and polishing. Insert the blade into the collet and tighten it firmly; a loose blade reduces efficiency and creates a safety hazard. Turn the device on and adjust the power dial from low to medium. For most plastics, rubber sheets, or fabrics, a medium setting (50–70% power) works best. Hold the cutter like a pen, apply light, consistent pressure, and guide the blade along your cutting line at a steady, moderate speed. For polishing or deburring, switch to the abrasive tip, reduce power slightly, and use gentle back-and-forth motions. Always allow the tool to stop completely before setting it down.
Typical Applications vs. Unsuitable Situations
Ultrasonic cutters excel in specific business scenarios: model prototyping (cutting foam, acrylic, or carbon fiber sheets without frayed edges), medical device production (trimming soft tubing or 3D-printed surgical guides), industrial deburring (removing flashing from injection-molded plastic parts), and material post-processing (cutting Kevlar, nomex, or adhesive tapes). However, they are not suitable for certain tasks. Avoid using them on hard metals like steel or aluminum thicker than 0.5mm—the blade will dull instantly and may fracture. Do not use them on wet or highly conductive materials without proper insulation. They also perform poorly on very thick, dense rubber (over 8mm) or brittle materials like ceramic or glass, where vibration causes cracking rather than clean cutting.
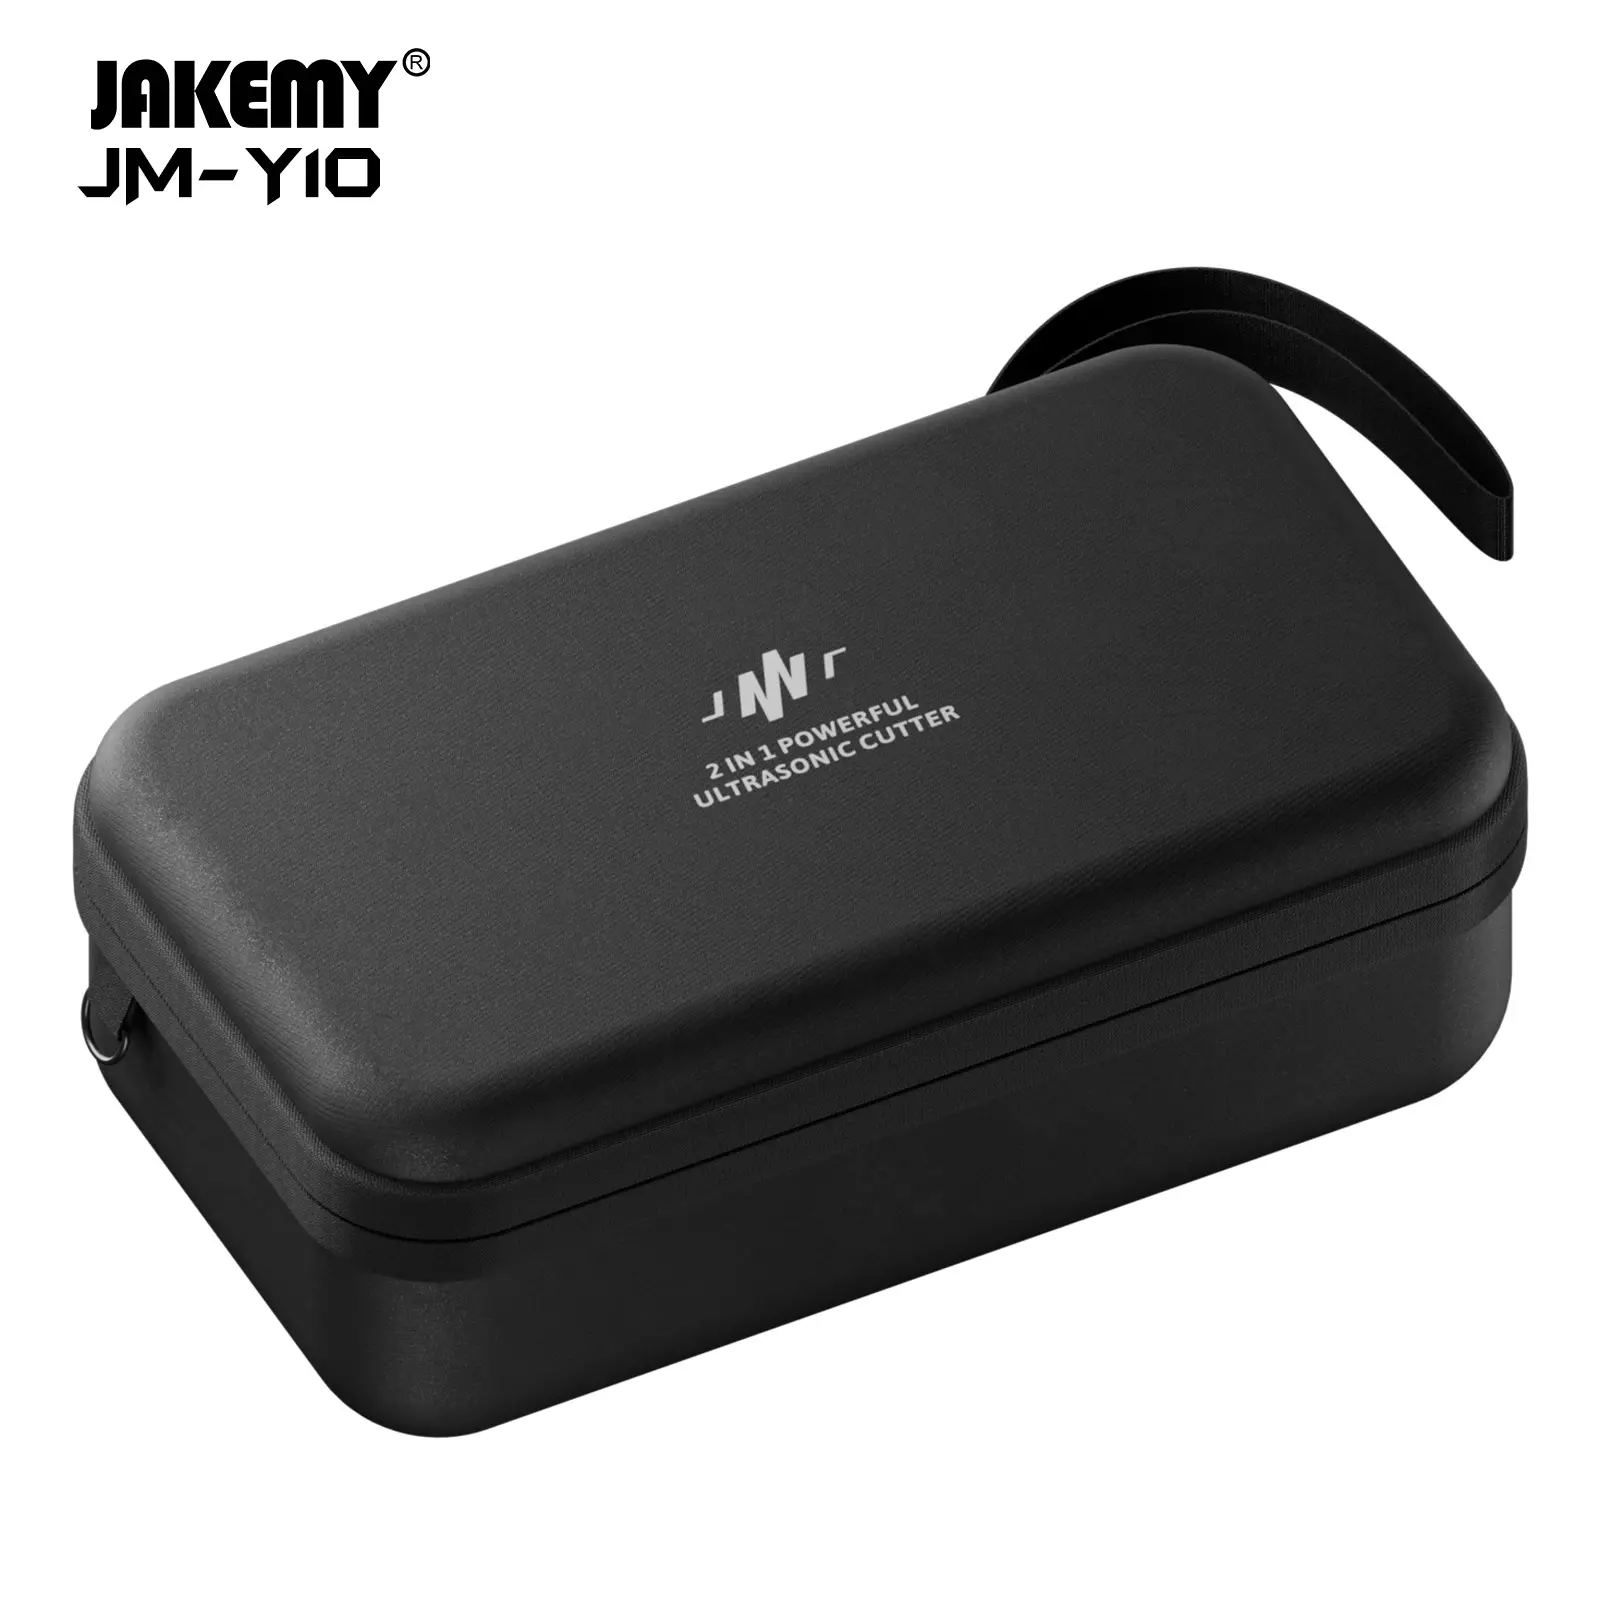
Your Trusted Partner for Precision Ultrasonic Tools
Understanding ultrasonic cutting technology allows your team to work faster, cleaner, and with significantly less material waste. When your operations demand a reliable tool that combines cutting, grinding, and polishing in one handheld device, we at Jakemy have the proven solution. Our Jakemy ultrasonic cutter—specifically the Jakemy JM-Y10 and JM-Y10 Pro (35W, 40kHz 2-in-1 handheld ultrasonic cutter & polisher)—is engineered for fast, efficient cutting, grinding, and polishing across model prototyping, DIY crafts, medical device production, industrial deburring, and material post-processing. With years of experience manufacturing high-quality tools for global wholesale partners, we at Jakemy deliver the performance and consistency your business deserves.